
As I was looking through the different aspects of Colombia’s culture, I read about Chivas or Escaleras, a mix between a bus and a truck used for transportation of people and goods. I thought my students would really love learning about them and creating related art. I was specifically thinking of first and second graders, as I cover transportation in Spanish in these grades.
The Chiva, a Colombian icon, emerged in the early 20th century in the Antioquia Department. At that time, horse-drawn carriages were the primary mode of transport for the region’s farmers. In 1908, a breakthrough occurred when Colombian engineer Luciano Restrepo and mechanic Roberto Tisnes imported a chassis from the United States and constructed the first bus body in Medellín. This pioneering vehicle serviced the route between Medellín’s city center and the town of El Poblado. Initial models were basic, featuring a canvas roof and wooden benches. Later versions incorporated roof racks to accommodate farmers’ goods and more seats.
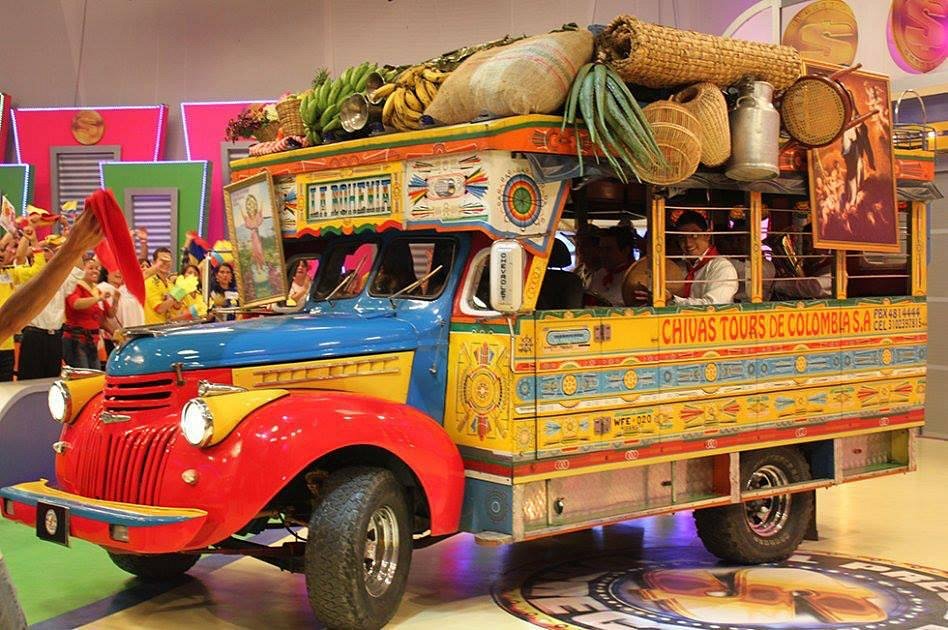
Chivas continued to evolve and today there is a second type of Chivas used for partying especially in Cartagena de Indias. It is how I came to know them, as a tourist in Cartagena. They are called Chivas Rumberas.
Even thought they are used for different purposes, they both share one thing in common, (aside the build of the tranport), their colorful, beautiful and detailed geometric decor. Why are they called Chivas? Because their horn make a sound that to some Colombians sounded like a goat, so that’s what they called them: goats in Spanish.
I found this great video that showcases some of their history, characteristics and how they are made, my students were totally fascinated:
And this is a Chiva Rumbera in action. Please note that there is drinking going on… so make sure you watch it ahead and select what you think would be appropriate for your students.
And… there is a flower parade in Medellin every year that includes Chivas:
Activity 1 : The easiest. Drawing a Chiva.
I decided to have my students draw their very own Chivas. I told them that they could be birthday party ones… if you were going to celebrate your birthday in one what would it have? The results were so creative and whimsical.


The last one. LOL!
For reference, I printed some Chivas for them to look at. I’ve included them below. And… I gave my students some Colombia clip art I printed, that is why you see some cut out flags and typical Colombian items: hats, etc.

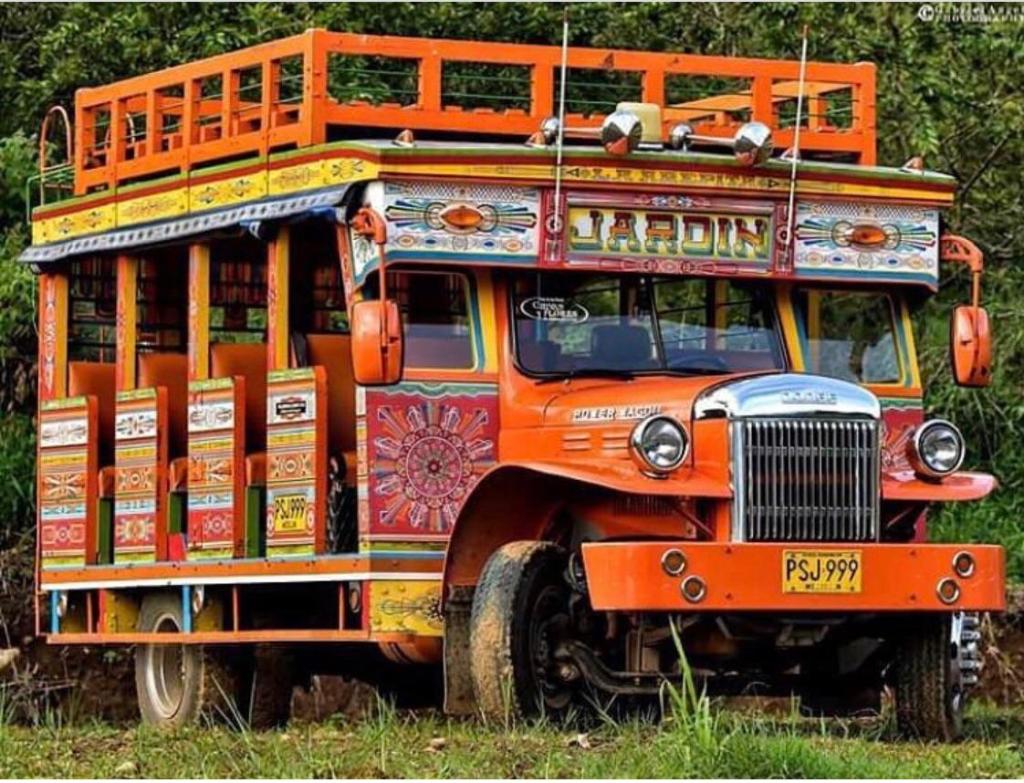
The following image was very useful as many chose to do it sideways as it is easer to draw.


Activity 2: Creating Ceramic Chivas
This activity took about 4 classes to complete. I worked in collaboration with the Art teacher at our school. She did the first part: she made a model of the Chiva, a tracer that students used to trace onto a ceramic slabs of clay. Students then textured in windows and doors. After they were fired in a clay oven, students painted them using air dry paint of different colors. The Art teacher collected many little items that they could use to create racks and she purchased the wheels.
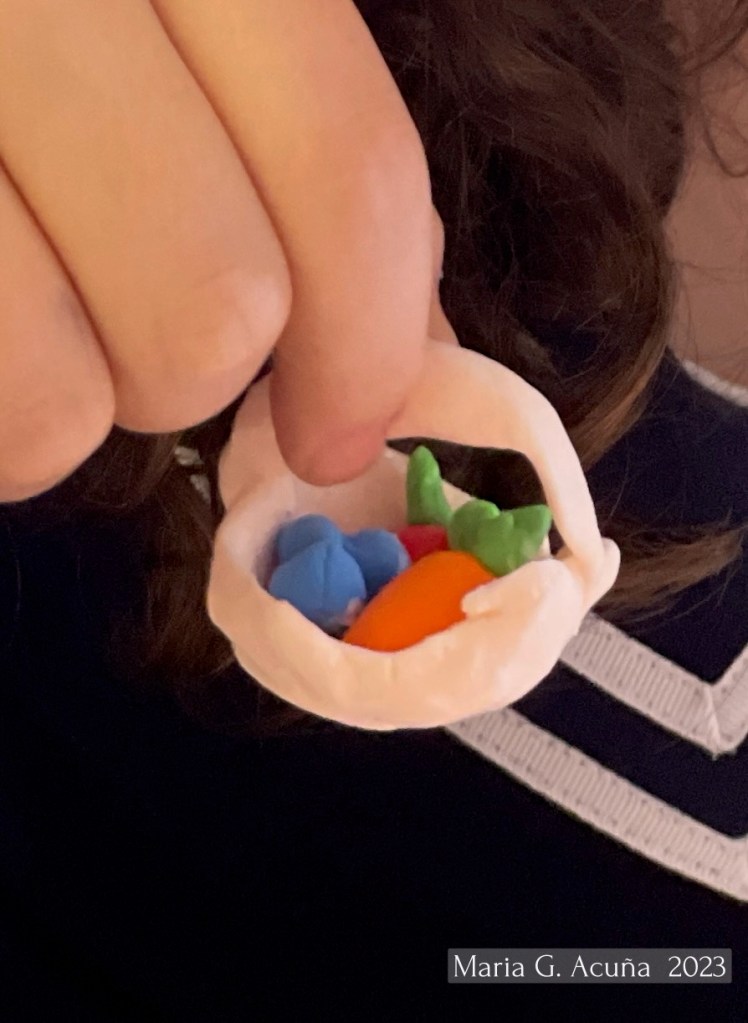
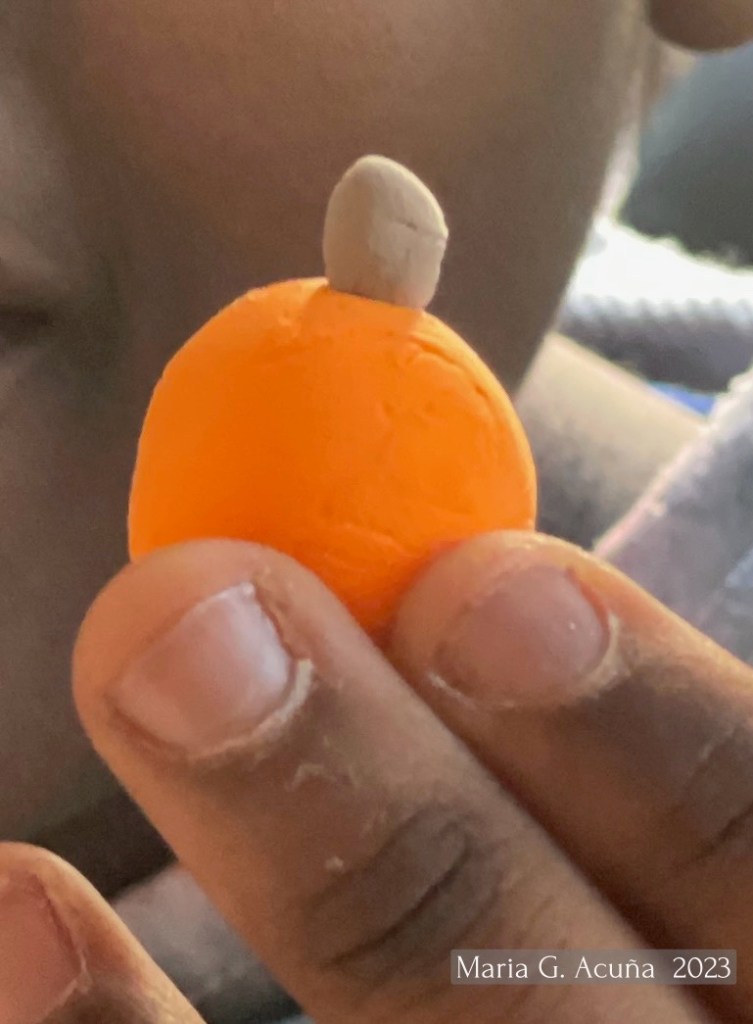
I talked to my students about Chivas and showed them the sort of items Colombian peasants would place on a Chiva. We practiced some of the food items that would go on the Chivas in Spanish, and other things and animals like chickens too. Then Students delighted making mini ‘everythings’ with air dry clay of different colors. (Of course we practiced the colors too! ^ ^)


In a joined class that lasted an hour and a half students created the racks and placed all their items in them. they also created backgrounds for them. We had so much fun!

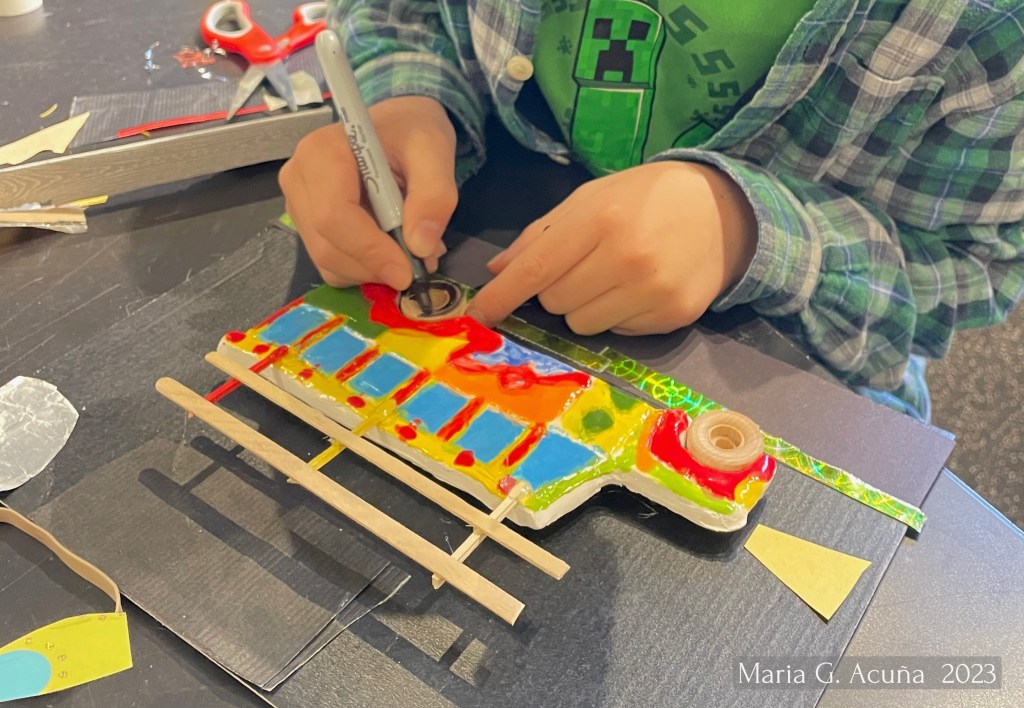

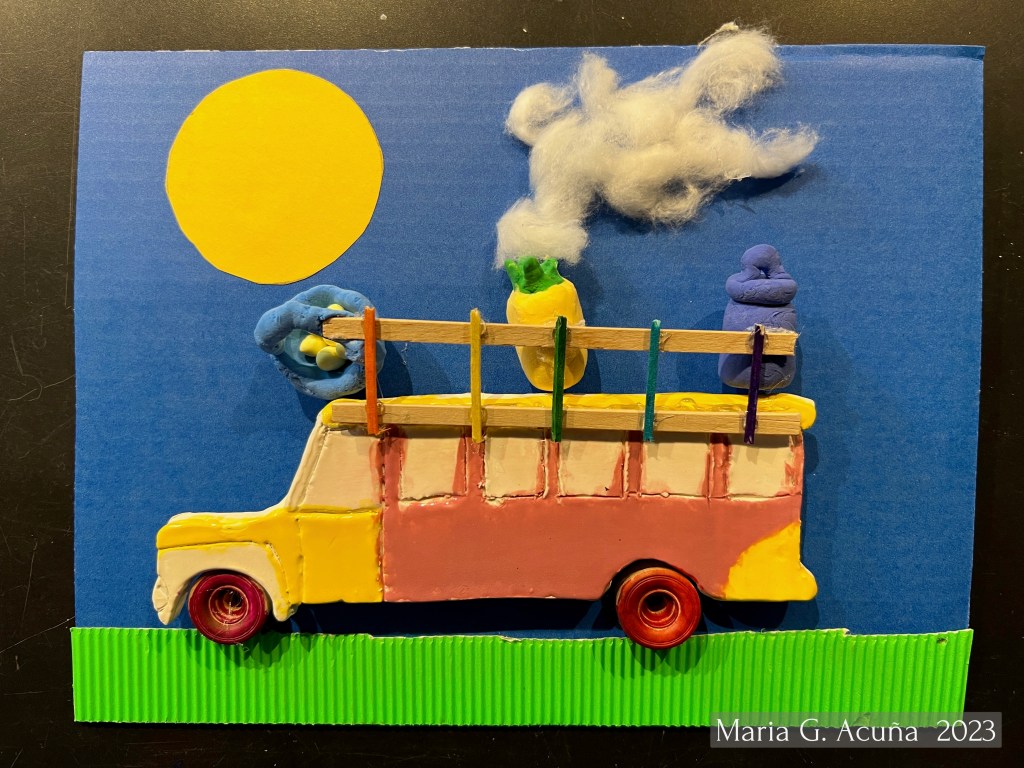

Aren’t they wonderful! ^ ^ I think if you had no access to a kiln, you could make the Chivas out of cardboard.
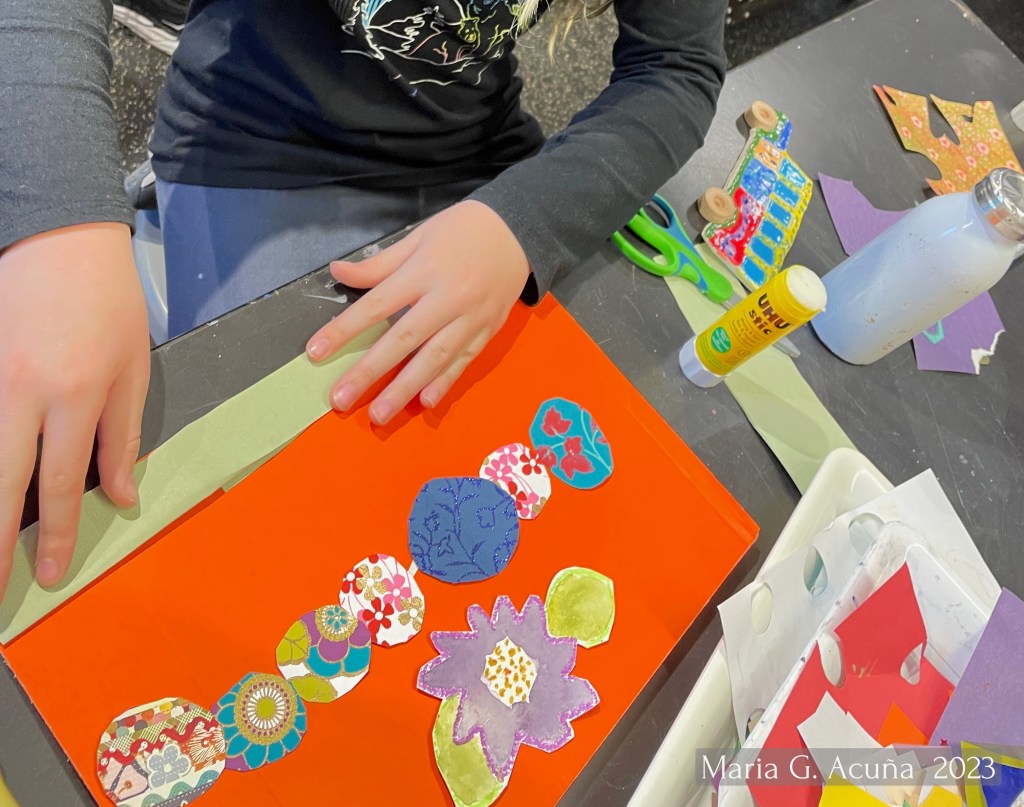
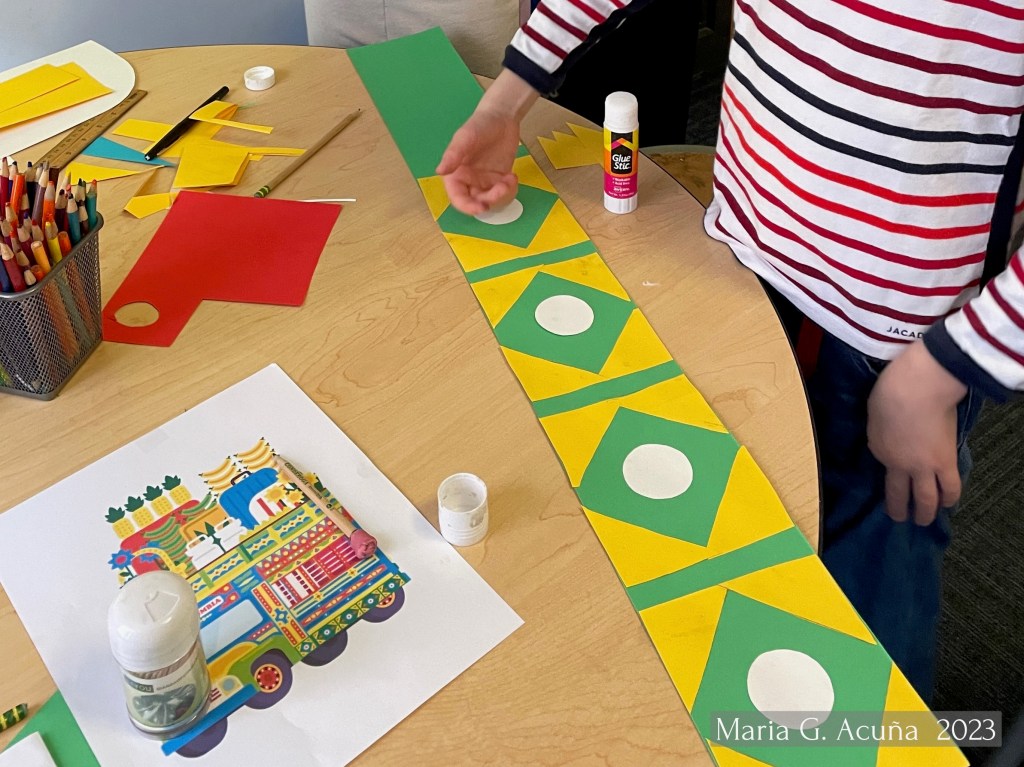
Activity 3: Making a Chivas Mural.
To decorate the Reception Area of the school, we call it the Family Center. My coworker (Lower Grade Spanish Teacher and Atalierista) and I worked on creating a giant Chiva. My Second, Third, Fourth Grade Students, a Sixth Grader and I worked on creating the body of the Chiva including wheels and name. My colleague worked with the preschool and kindergarten students creating 3D items to place on it.
This is the image we used as inspiration:

These are some photos of the process and the final product…


I hope this post inspires you to do a Chivas related activity! ¡Que se diviertan!

Leave a comment