¡Hola!
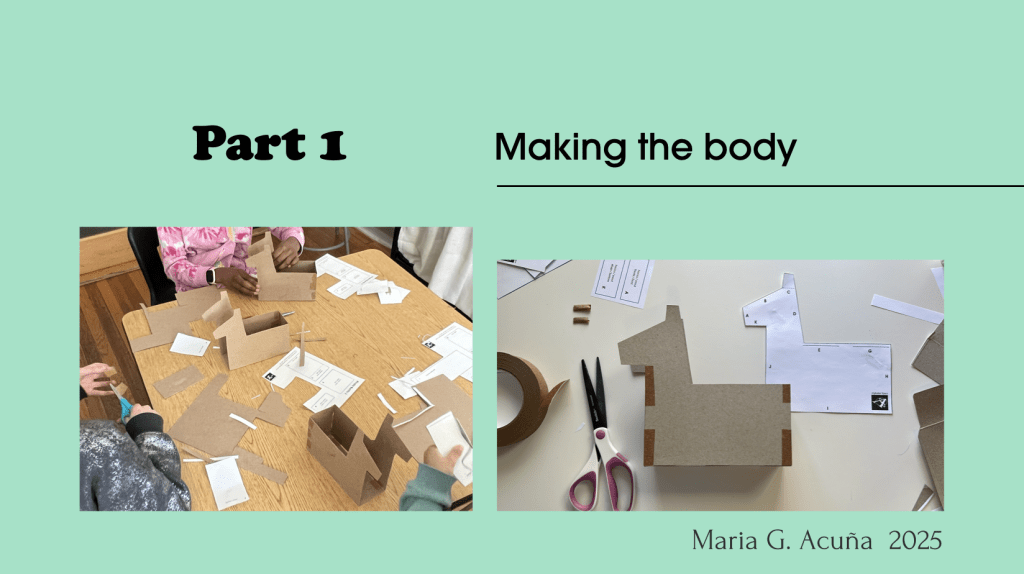
This page will take you through making a small piñata (burro/donkey style) step by step. You can make it on your own or if you are a teacher, with your students. It is a lot of work but also a lot of fun! And very rewarding!
If you want to learn /teach about the origin of the piñata check out this video:
By the way I made a video so you can use it if you have doubts about any part I try to explain with just photos:
So now let’s get started!

By the way you’ll also need a pipe cleaner for each piñata!

Use the following template to make your piñata. A PDF with the files is included too.


1. Cut out the template for the body in Piñata 1) two times.
2. Cut out the body parts templates in Piñata 2. Attach the pieces using masking take. (Cutting the tale is more efficient and cost saving.)

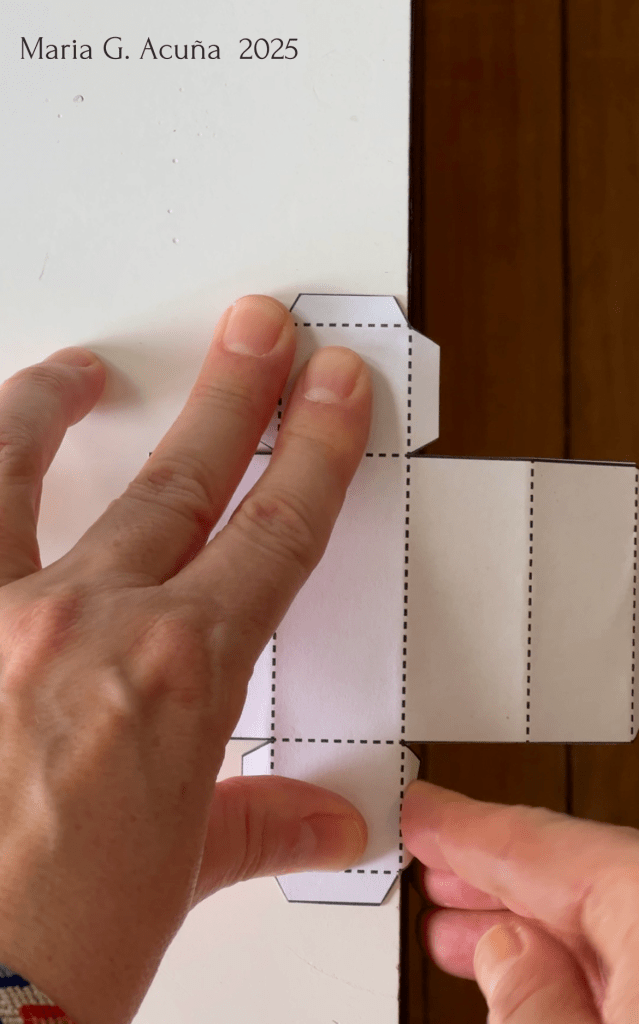
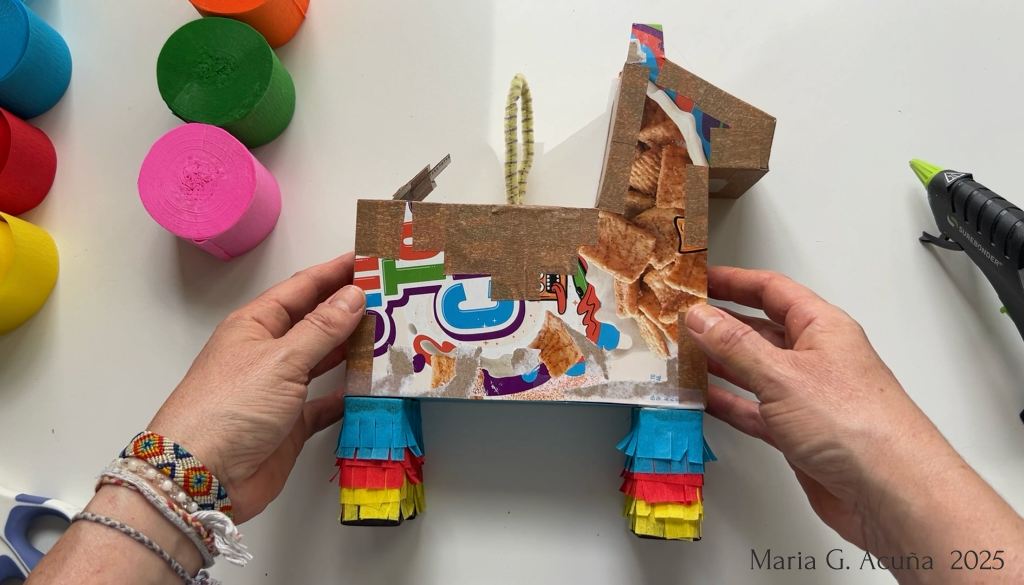
3. When you are done, use template Piñata 3 to make the horses back. Check out the following steps to create a flap to fill the piñata.
Fold the paper to be able to cut the flap piece:


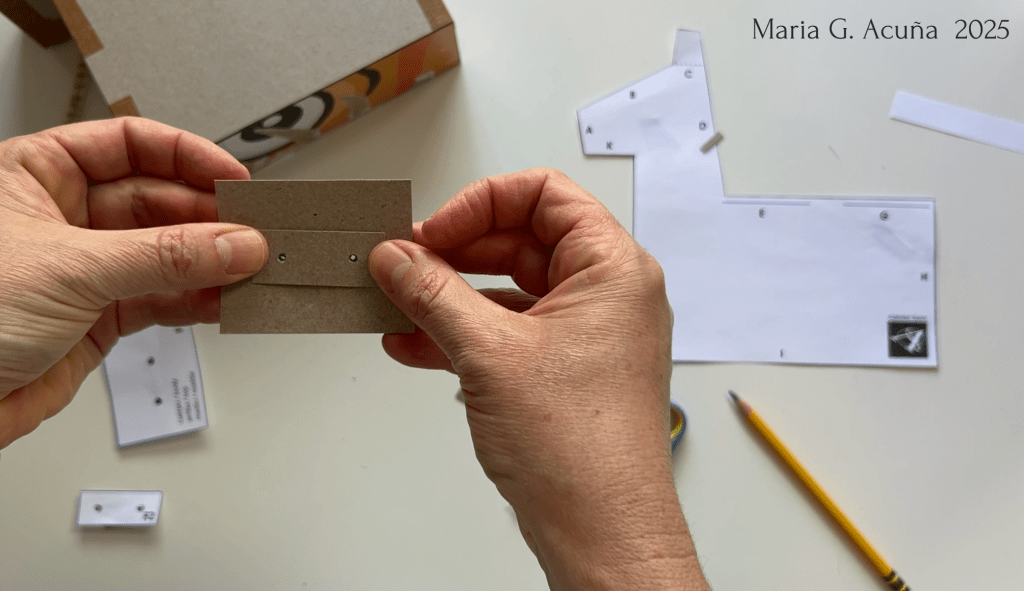
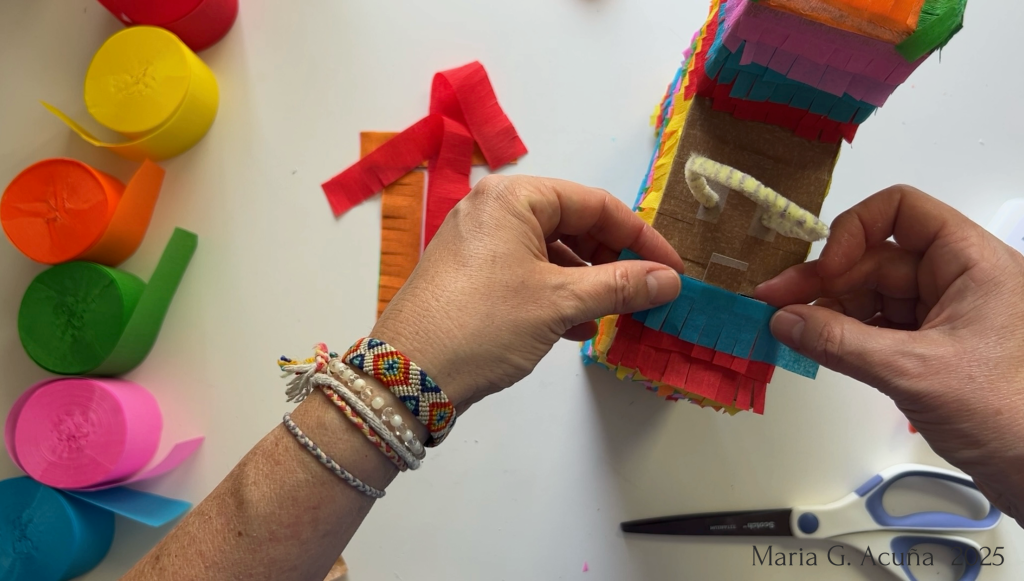
4. Then add a pipe cleaner to create a loop to hang the piñata. This part is the trickiest in the project. If you are a child make sure you get help from an adult. Use a scissors to poke the holes making sure you have another piece of cardboard underneath to protect the table.

Widen it with a sharpened pencil.

Then align them and put the pipe cleaner through it:
Twist it underneath all the way to the end.

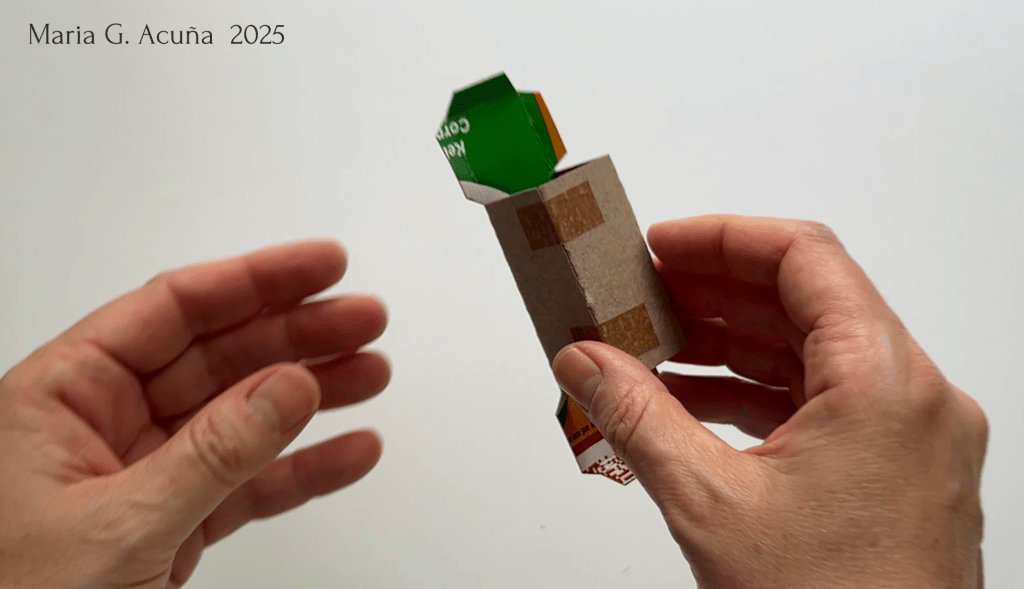
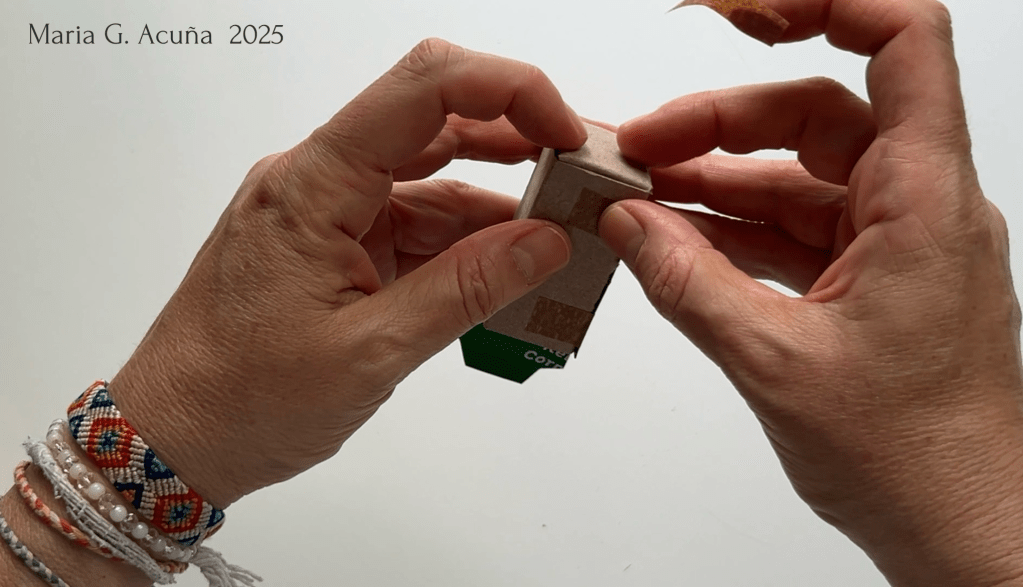
Then attach that twisted piece to the cardboard. (You’ll be taking it onto that smaller rectangle and the bigger piece.

Then tape that piece to the body structure. Note: this is the last piece that you should attach and use big pieces of tape that go all the way into the body for good support.

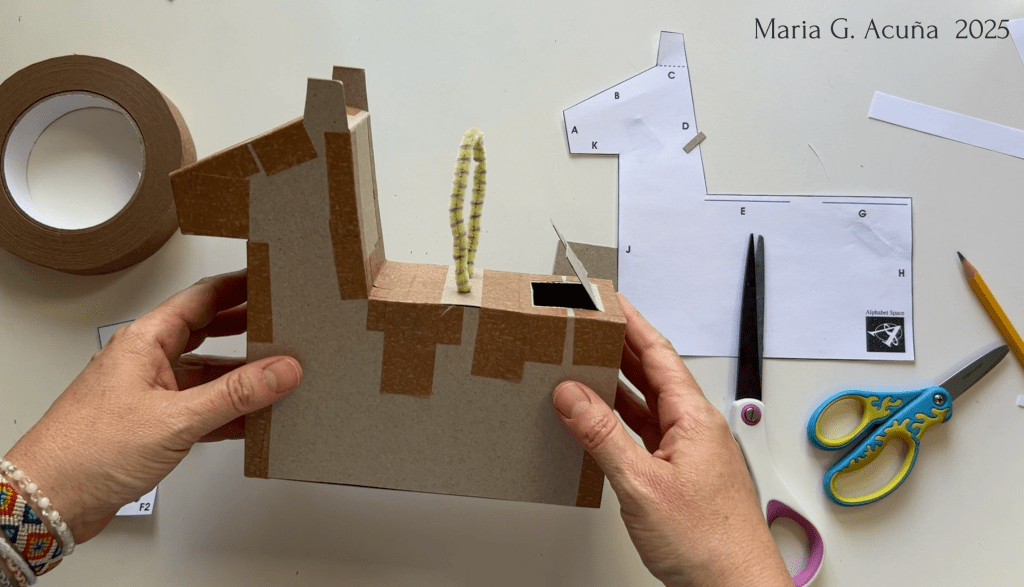
All done with the body!
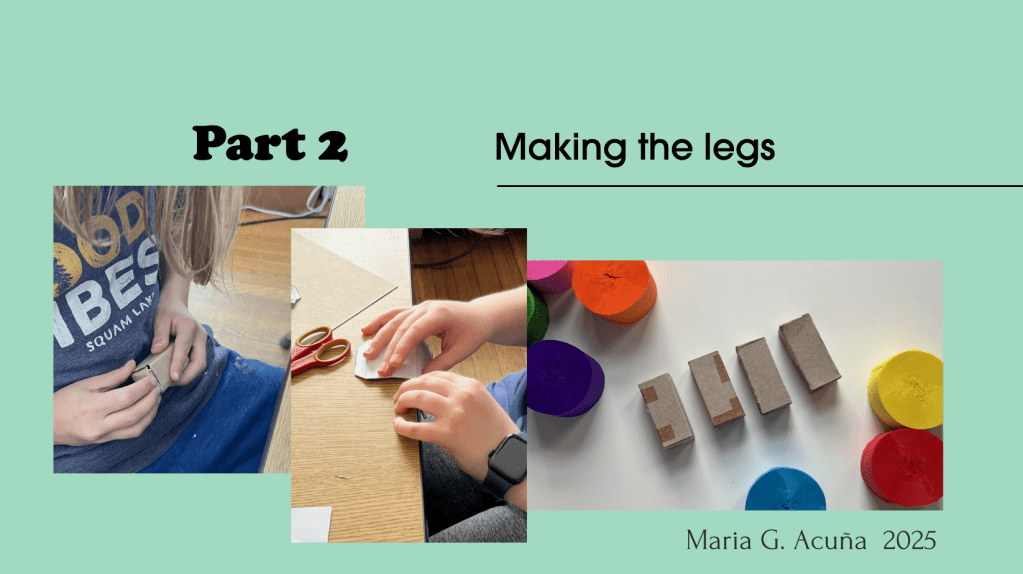
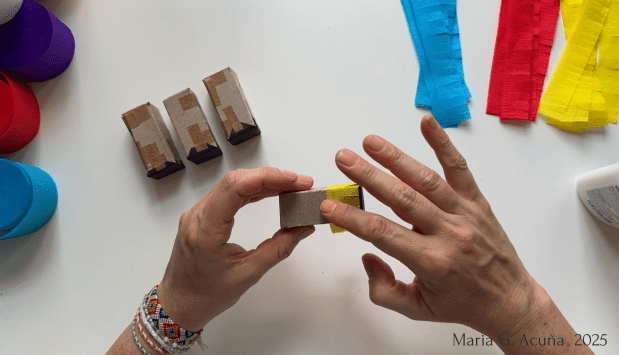
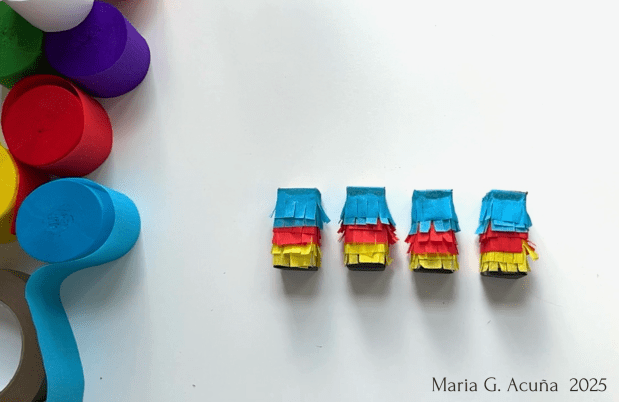
Use the patterns on the Template named Piñata 4 to make 4 legs. Cutting 16 pieces of little masking tapes ahead helps a lot!


To start cut out four black construction paper squares to cover the bottom of the legs. They should be slightly bigger.


Cut 16 small pieces of tape ahead of time. That way you’ll be able to work much faster.

I actually had my students practice on paper rolls before the legs as they are really small and I wanted them to experience gluing the crepe paper in a bigger space first. We used clear glue on these and they did not look great as the glue makes the crepe paper transparent.
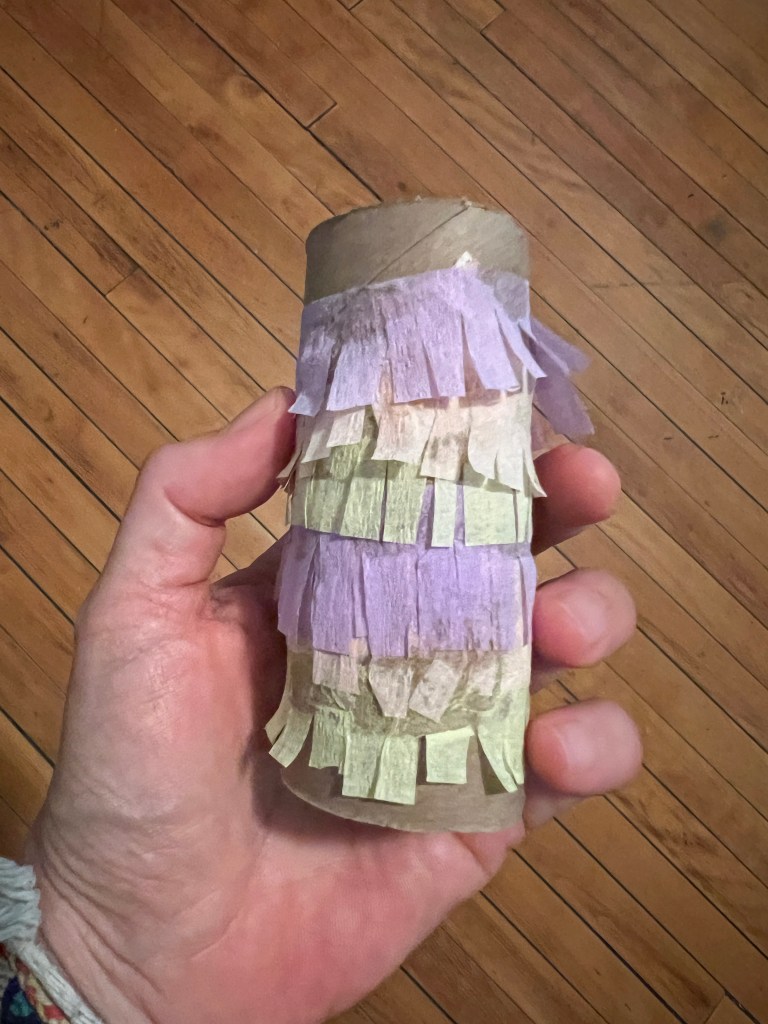
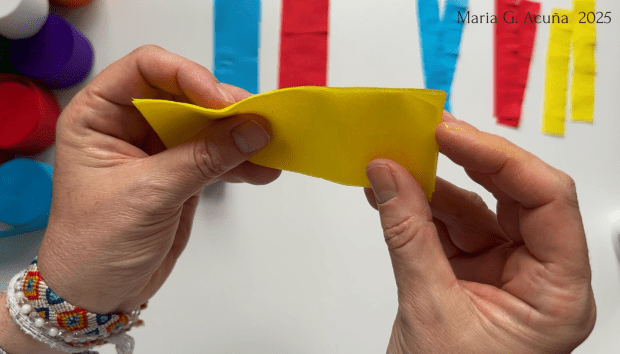
I decided to use crepe streamer rolls to decorate the piñata as I feel it is much easier to use than tissue paper because it comes in a smaller size. And with a class, they would be able to access it and measure it easier!
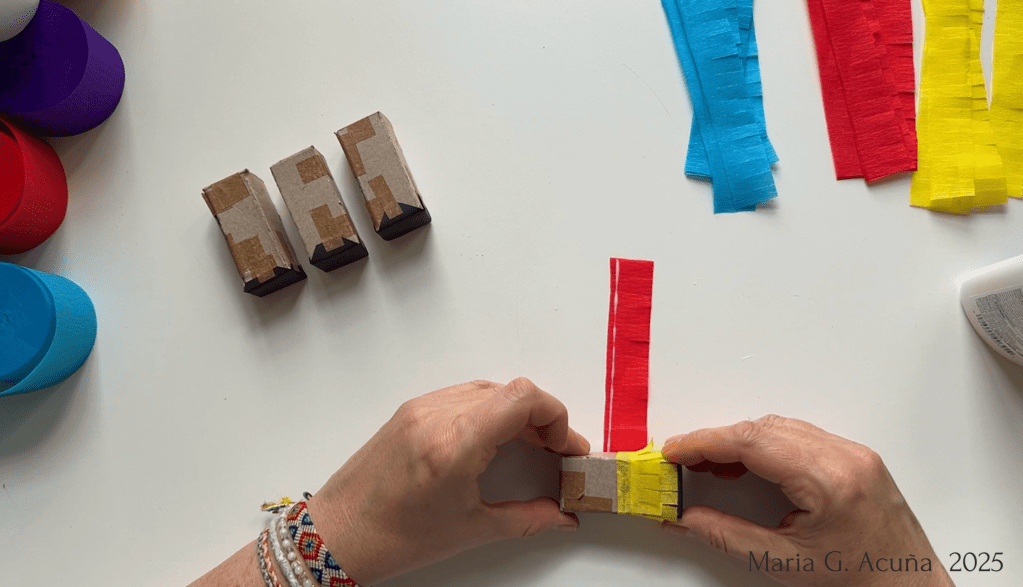
Measure the streamer around the leg to get an approximate of the needed length to decorate. Depending on your need, you’ll need 6 singles cut up papers for one leg (or 6 doubled). so in my case I had three colors on the legs so I needed 2 of each color per leg or 6 in total. Stacking is great as the paper becomes more sturdy and easier to hold.


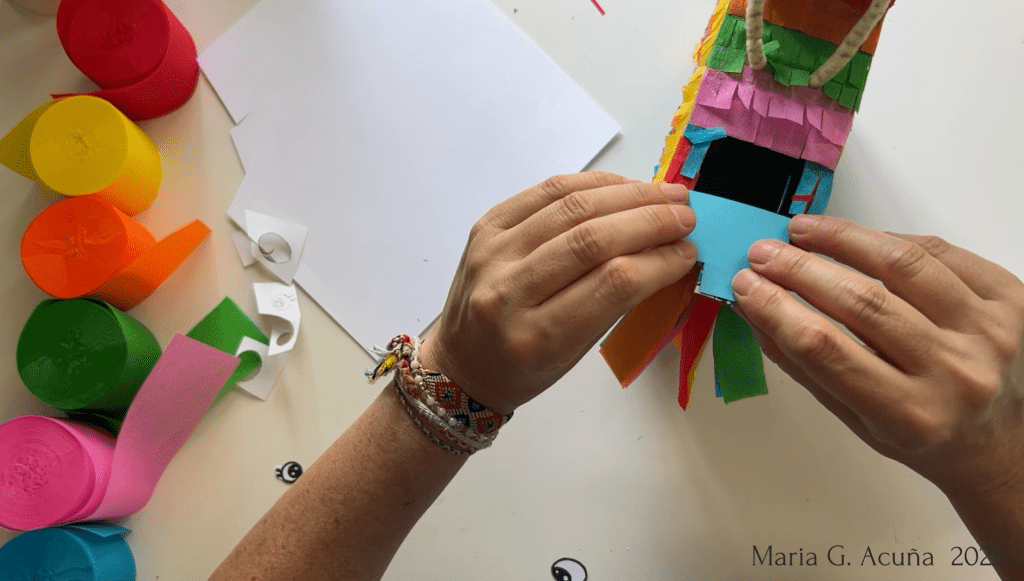
After this I covered the belly and the chin the donkey piñata blue paper. I reinforced it with tape on each corner. It is important to do this or the wight of the legs will tear it off!


And I attached all the legs with a hot glue gun.


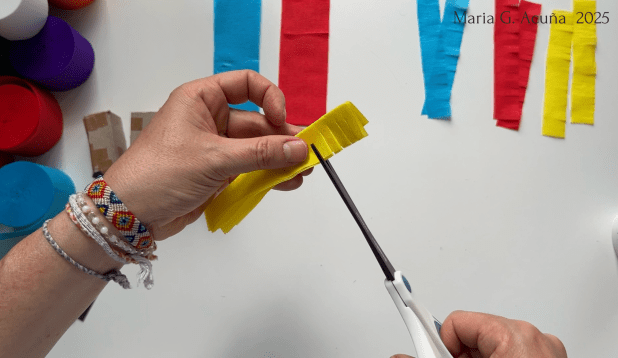
Start by measuring the crepe paper by wrapping the piñata (1 time). Cut about 6-8 strips of the same size. Then stack 3, fold them in half and make the little ruffle cuts all along them. Then cut these in half or use them doubled. See the video below, I cued it right on this part!


Proceed in the same way with the neck:
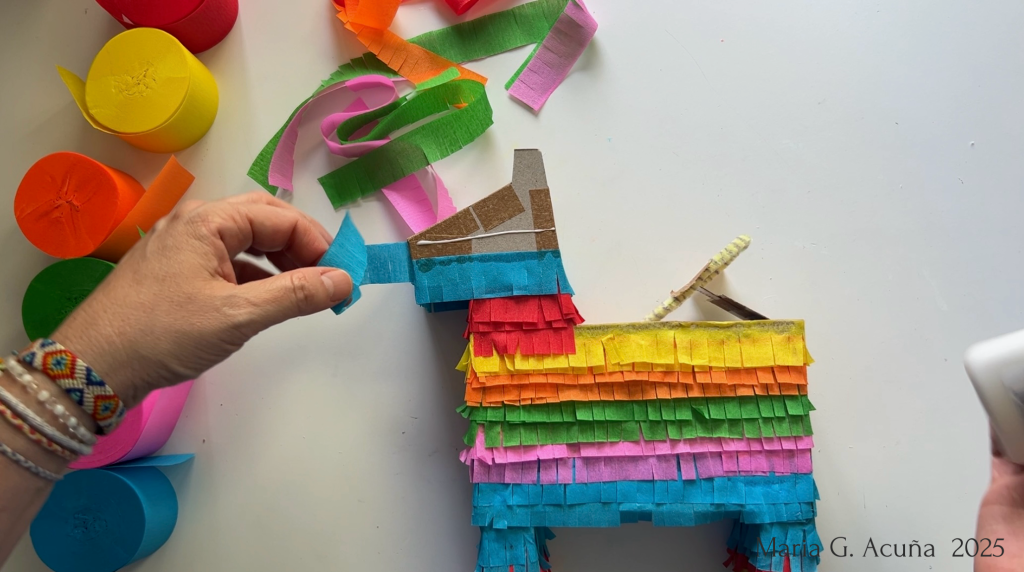
Now to finish the top of its head, go from the snout towards the war layering. This part goes much faster!

And then finish with the back of the donkey layering from the tail side towards the neck:

Woo hoo! Do a little celebration dance! Because you are almost done!
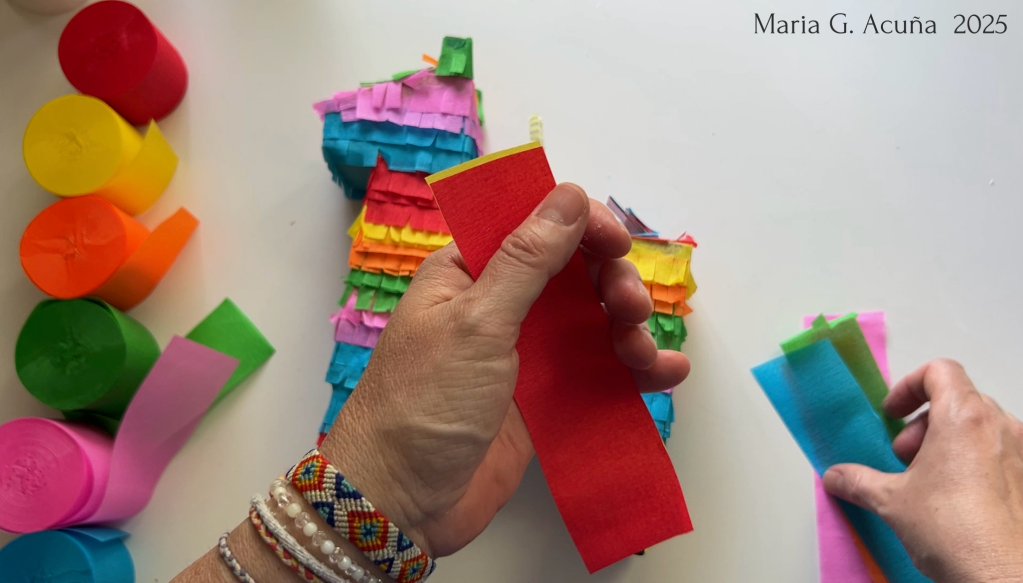
To make the tail choose the color/s you want and cut short strips. About 6 in total.
Then fold it half and make a little fold on the top:

Cut in half up to that fold.

Ruffle it and glue the layers:
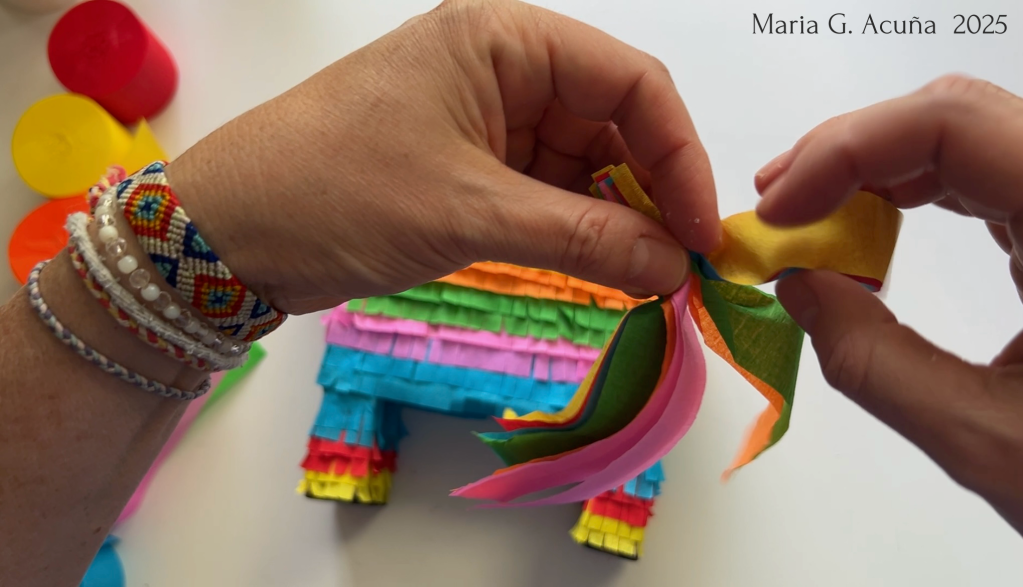

Then us a glue gun to attach it to the back:


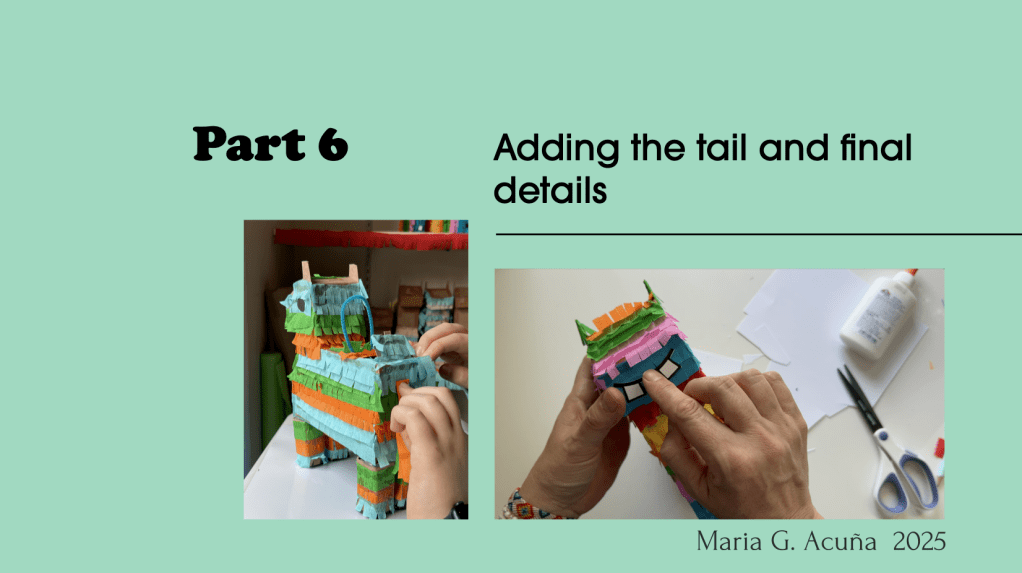
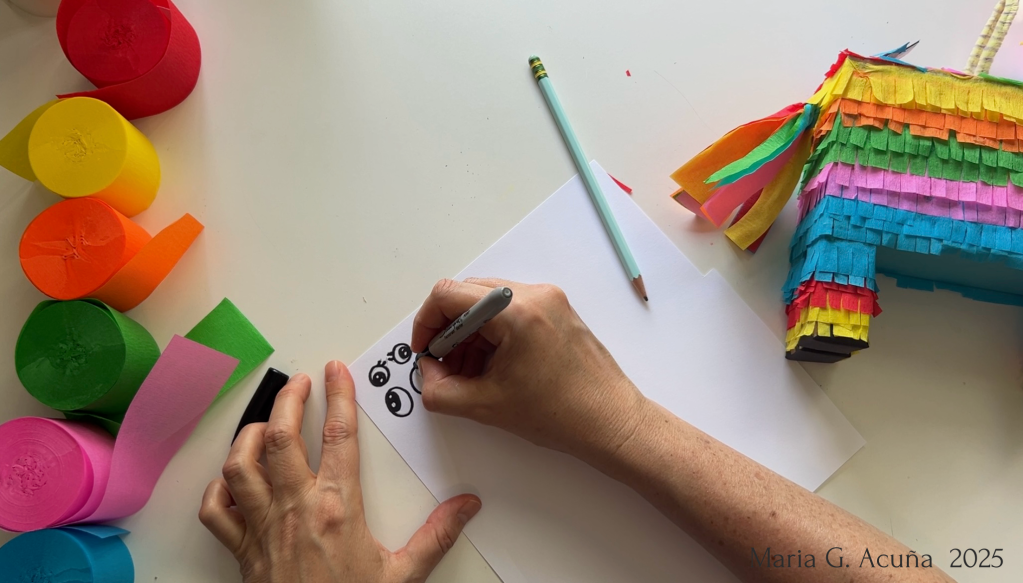
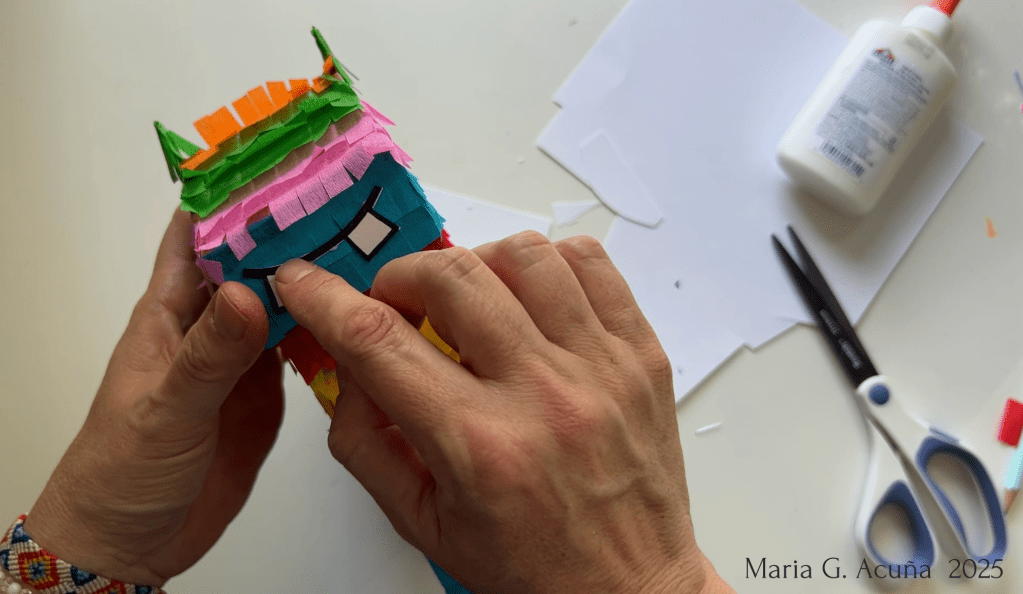
And last but not least it’s time for details: eyes, nose, mouth, horn if it is a unicorn, wings if it is a pegasus, etc!


I also covered the back of the flap in blue paper. I traced it and then cut it out and glued it:


Yes! You can use it as a decoration or gather some friends and whack it with a pencil! Make sure you add in some goodies! ^ ^
Remember to chant: Dale! Dale! (Hit it!)
